Templately allows you to generate your full website content with AI. With the full site import, you can now generate website content for the ready templates in just a few clicks. Follow the step-by-step guide on how to develop website content with Templately AI.
How to Generate Website Content with Templately AI? #
Learn from the step-by-step guide on how to generate the entire website copy using the Templately AI content generator.
Step 1: Log in to Your Templately Account #
First, from the WordPress dashboard, click on ‘Templately’. Then, with the necessary credentials, log in to your account. For detailed documentation on the login process, please visit here.

Step 2: Choose Your Template Pack #
After logging in, you will see the template library from the dashboard. From there, pick the template that you want to import with AI-generated content.
Note: You will see a button ‘Build with Templately AI’ appearing with the templates that are available to import with AI content.

Step 3: Insert Full Site with AI #
After selecting the template from the right sidebar, you will find two options: ‘Import Full Site’ and ‘Build with Templately AI’. Click on ‘Build with Templately AI’ to generate your website content with AI.

Now, you need to fill in some of the information to better generate the content. After clicking on the ‘Build with Templately AI’, you will find a chat window open, asking for some information.
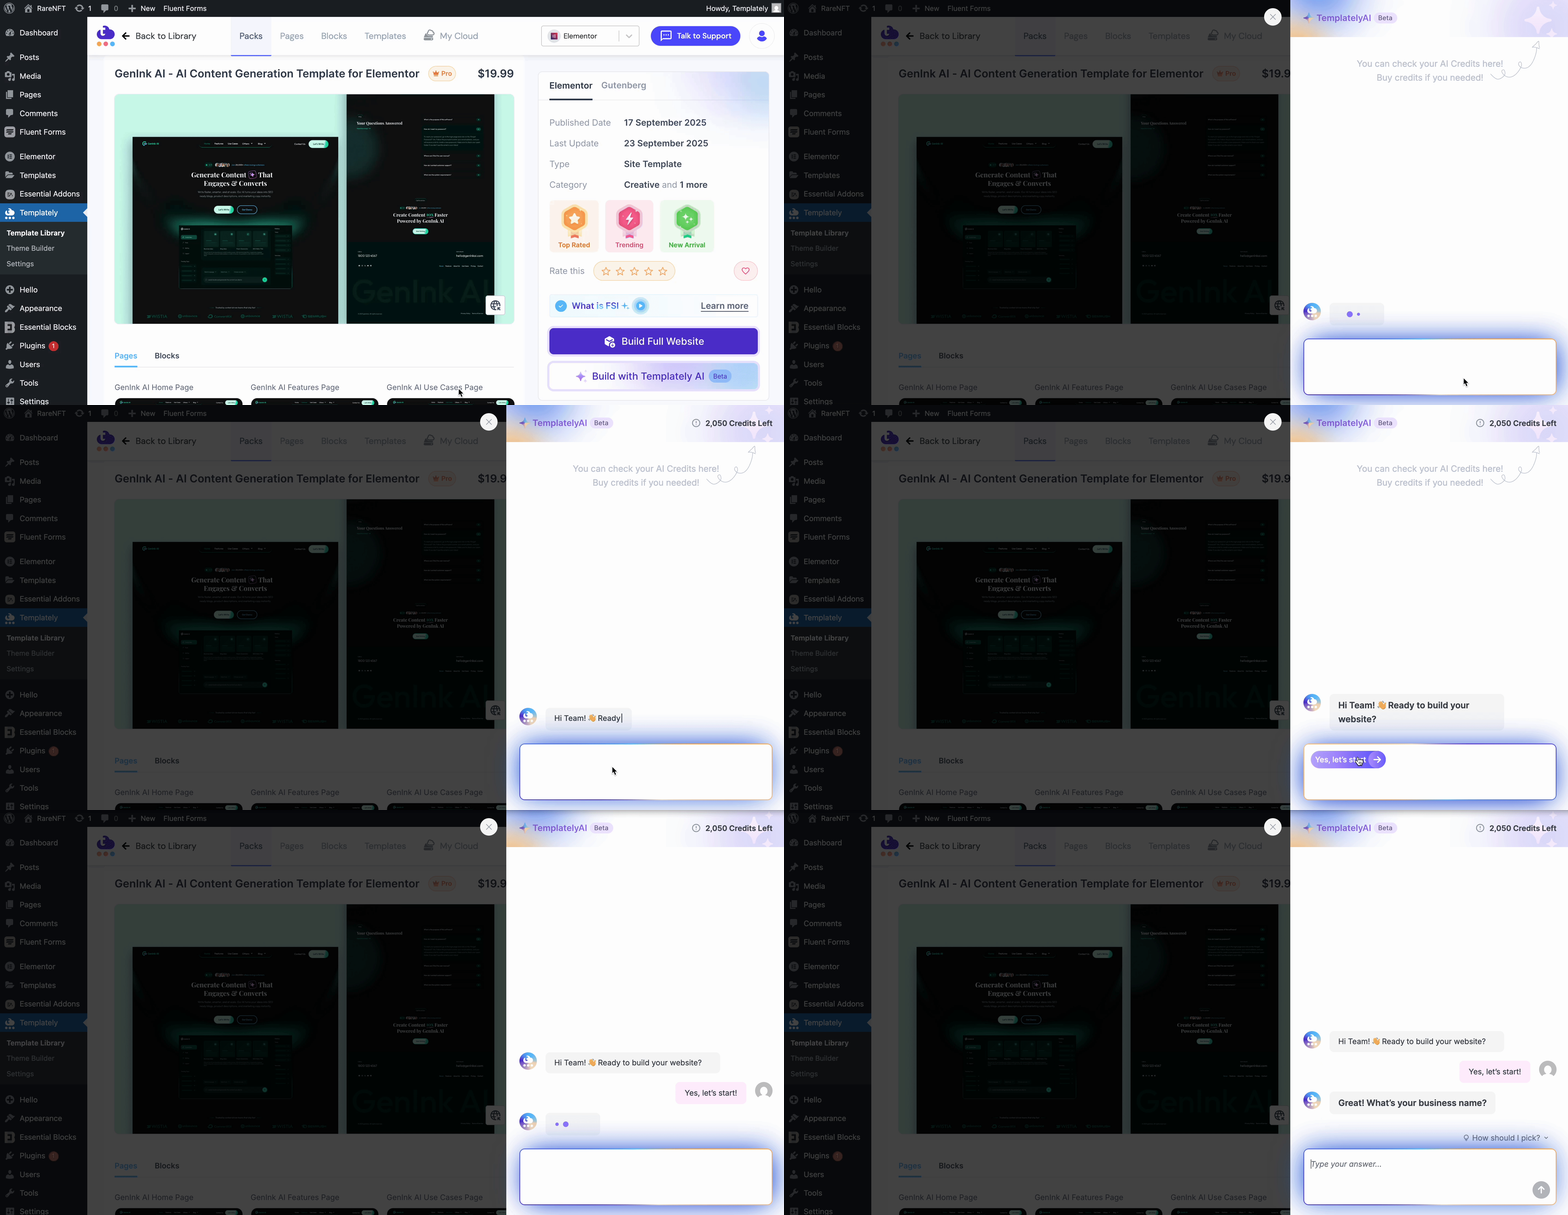
After that, click on ‘Let’s get started’ to start giving the information for your website. Here, the AI will ask some questions to generate content based on the answers you provide. Here are the questions that you need to answer.
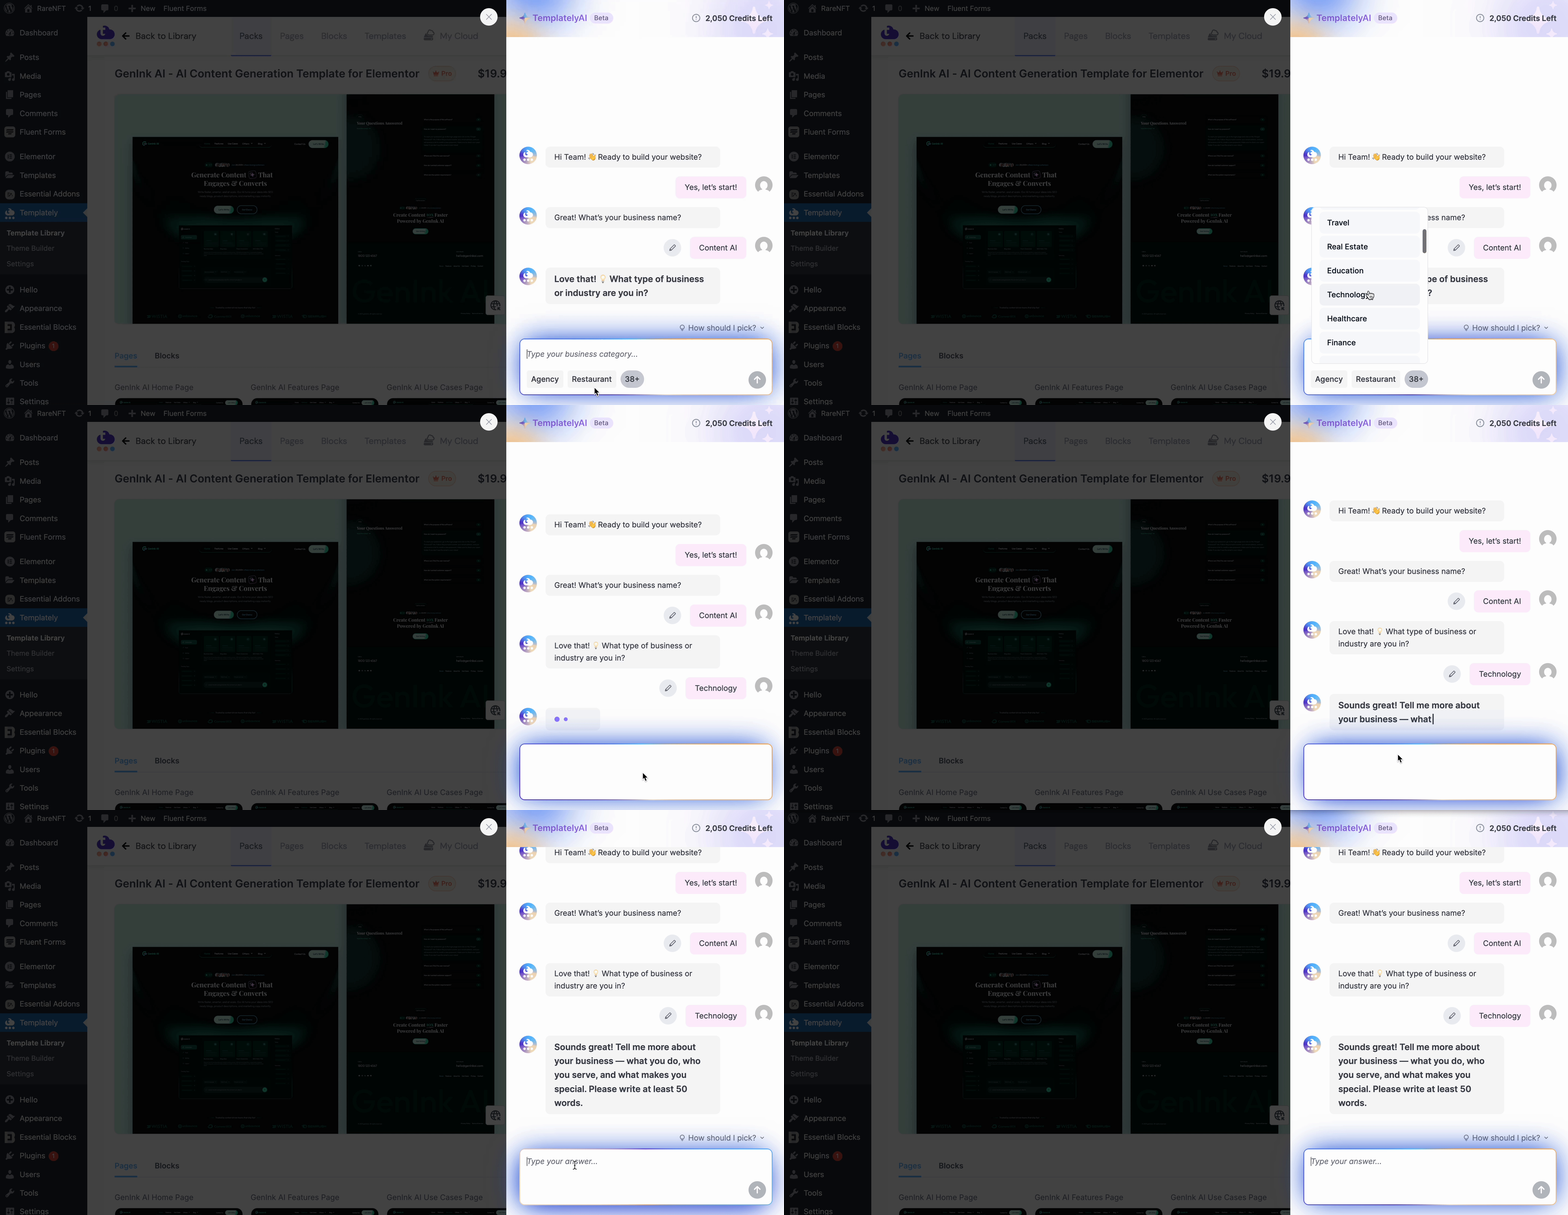
- Business Name: The chatbot will ask, ‘What is Your Business Name?’. Here, in the answer, type your business name. If you are creating a portfolio website, you can add your name here, too.
- Industry: Then, you have to define which industry your business belongs to. You will find the suggested industry name in the conversation. You can either pick an industry from the options or add yours.
- Business Details: In the next part, give a detailed description of your business. Here, you can add what specifically your business does. For example, if it’s an agency, then whether it is a digital marketing agency or a study abroad agency, you can specify the information.
- Email Address: Add specific email addresses for your website contact section. Through this email address, your visitors can contact you.
- Contact Number: Next, you will be asked whether you want your contact number or not. If you want to, then you can add it, or else you can click on the ‘Skip’ button.
- Business Address: In the next part, add your business address if you have one. Other wise you can click on the ‘Skip’ button here too.
- Opening Hours: If your business has a specific business hour, then add the opening hours in detail. You can click on the ‘Skip’ button if you do not have any specific hours.
After answering the questions, you will receive a confirmation text to generate content on the website based on the information you provided. If you are still confused, you can click on the ‘How should I pick?’ to get a demo sample.
If you want to replace the images from the template and want to add customized images, you can do that. With Templately AI, you can also replace images. To change images, click on the ‘Yes’ button to agree to replace images.

After that, you will find an option to change images. From the options, select the image you want to replace. Then, you can choose from stock photos or upload them from your files. Select the images you want to replace.
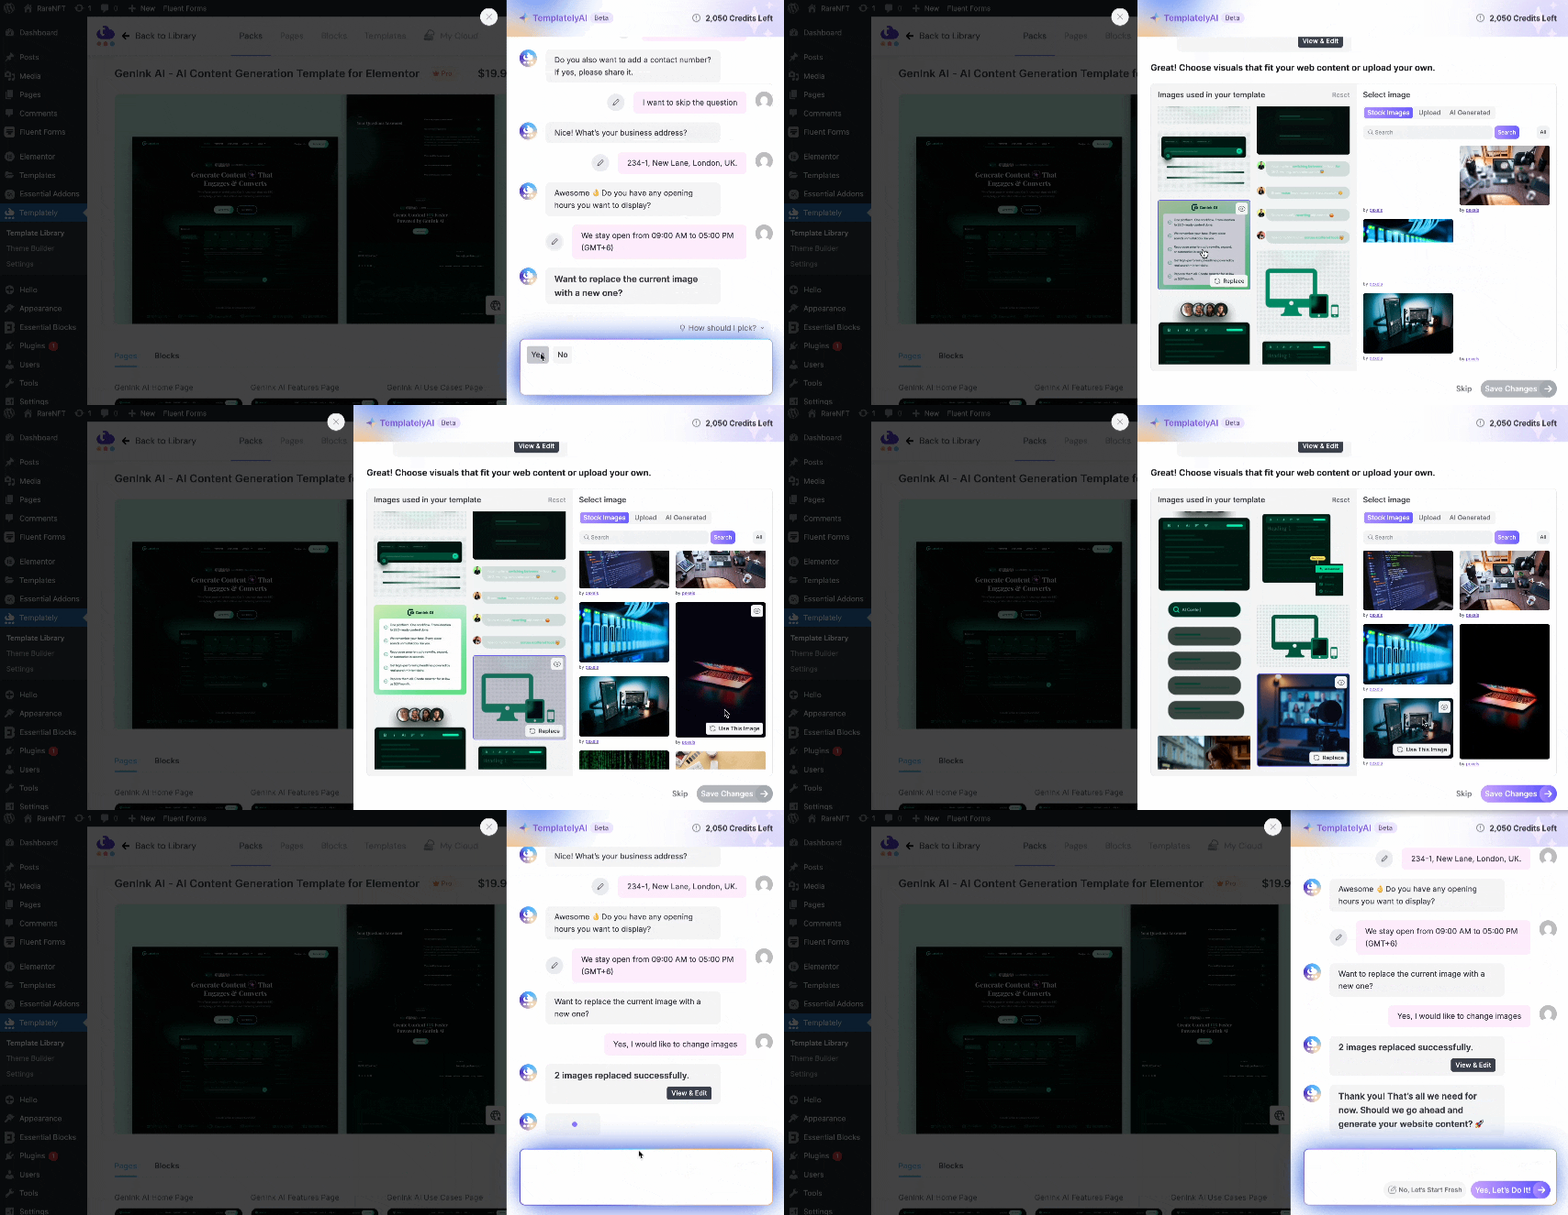
Finally, click ‘Save Changes’, and after importing the full site, you will see that the images will be replaced with the ones you have chosen. Finally, click on ‘Generate and Proceed’ to generate full content and replace images on your website with AI.
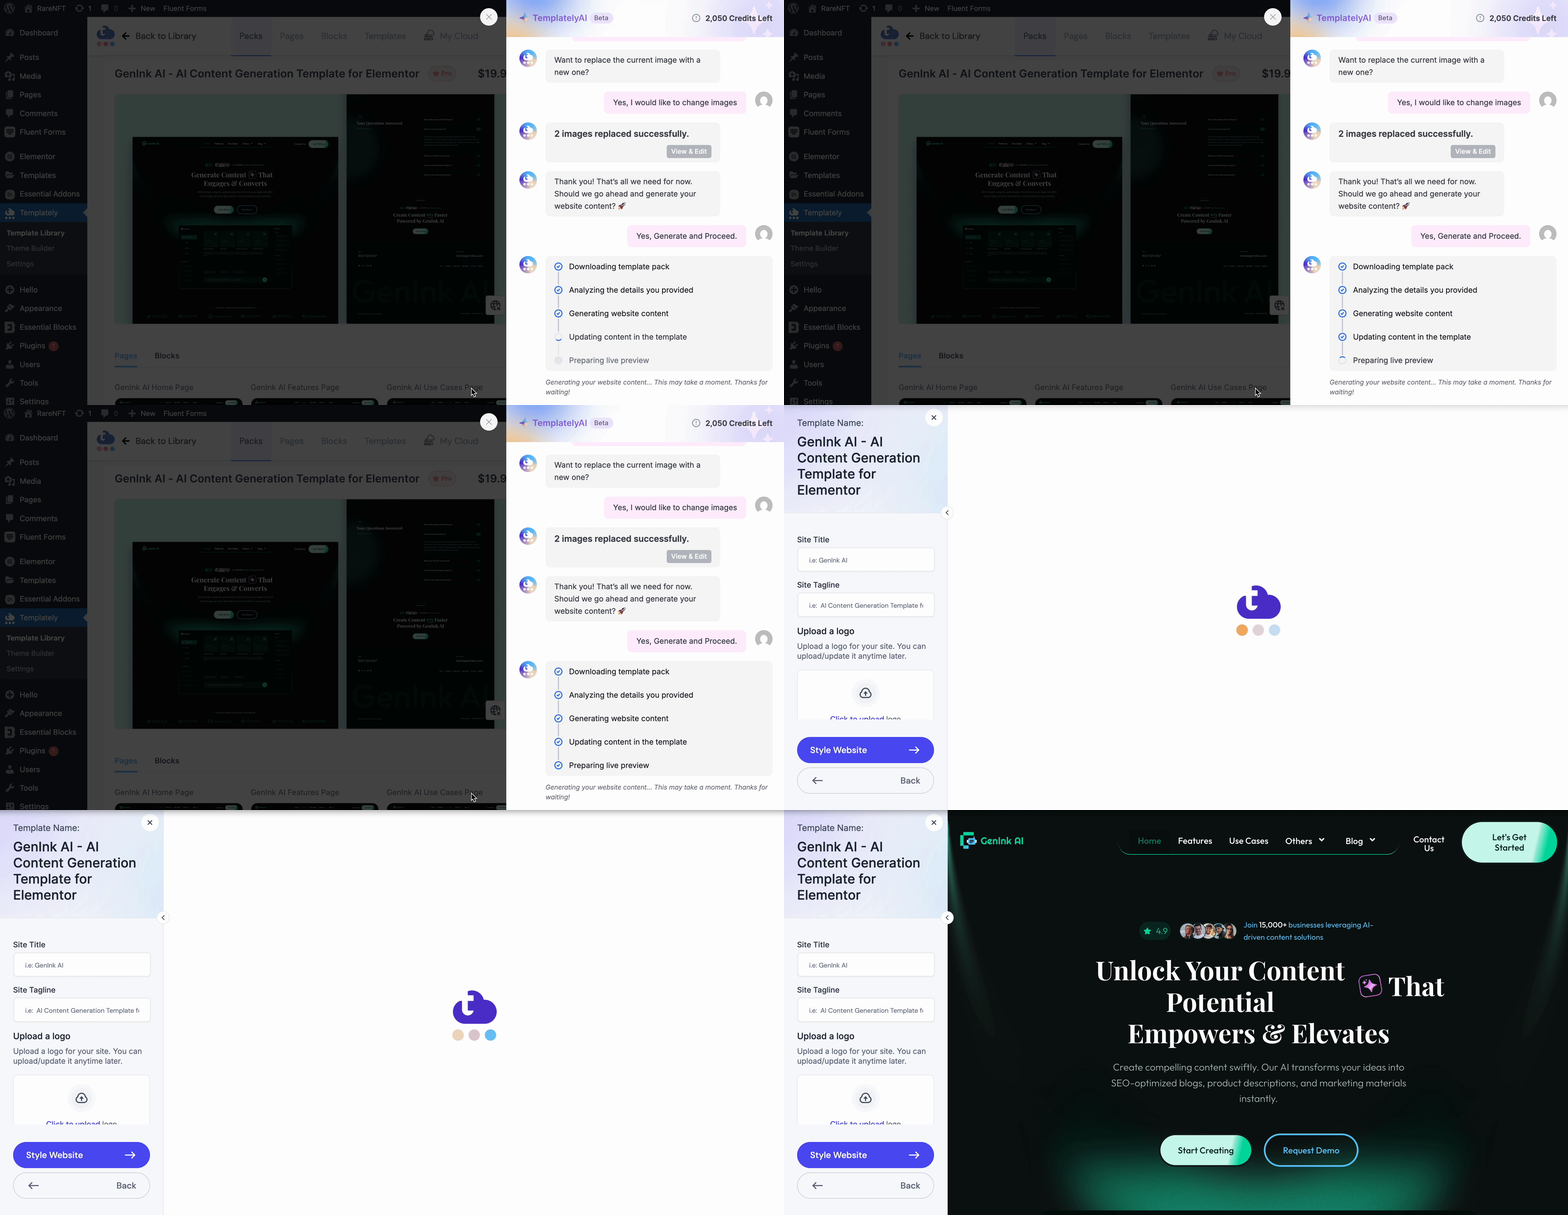
Final Outcome of Generating Content & Image Replacement #
Finally, after clicking on ‘Install and Proceed’ and making your website live, you can see that the content is generated based on the information you provided on Templately AI.

Thus, you can insert the entire template pack and generate content and replace images with AI in just one click. Getting stuck? Contact our support team for any help you need.


