Use ready-made Templately header and footer blocks as the header and footer of your whole site with the Elementor Theme Builder. Create a header or footer template in Elementor, insert a Templately header and footer block design, customize it, and choose where it shows.
Before you start
- Elementor and Elementor Pro are active. The Elementor Theme Builder is part of Elementor Pro.
- Templately is installed and you are signed in. See how to install Templately.
- No Elementor Pro? Use the free Templately Theme Builder to add a header and footer instead.
Set up your menu before adding a header and footer block #
A header usually shows your site menu, so create it first. Go to Appearance > Menus, add your pages and click Save Menu. If your theme is a block theme, there is no Menus screen. Build the menu inside the header with Elementor’s Nav Menu widget instead.

How to create an Elementor header with Templately #
Step 1: Create a header template in the Elementor Theme Builder #
In your WordPress dashboard, go to Elementor > Theme Builder and add a new Header template. It opens in the Elementor editor.

Step 2: Insert a Templately header block #
- In the empty drop area, click the purple Templately icon.
- In the library, choose Blocks and look for header designs. You can search for “header”.
- Click a design to preview it, then click Insert This Block.
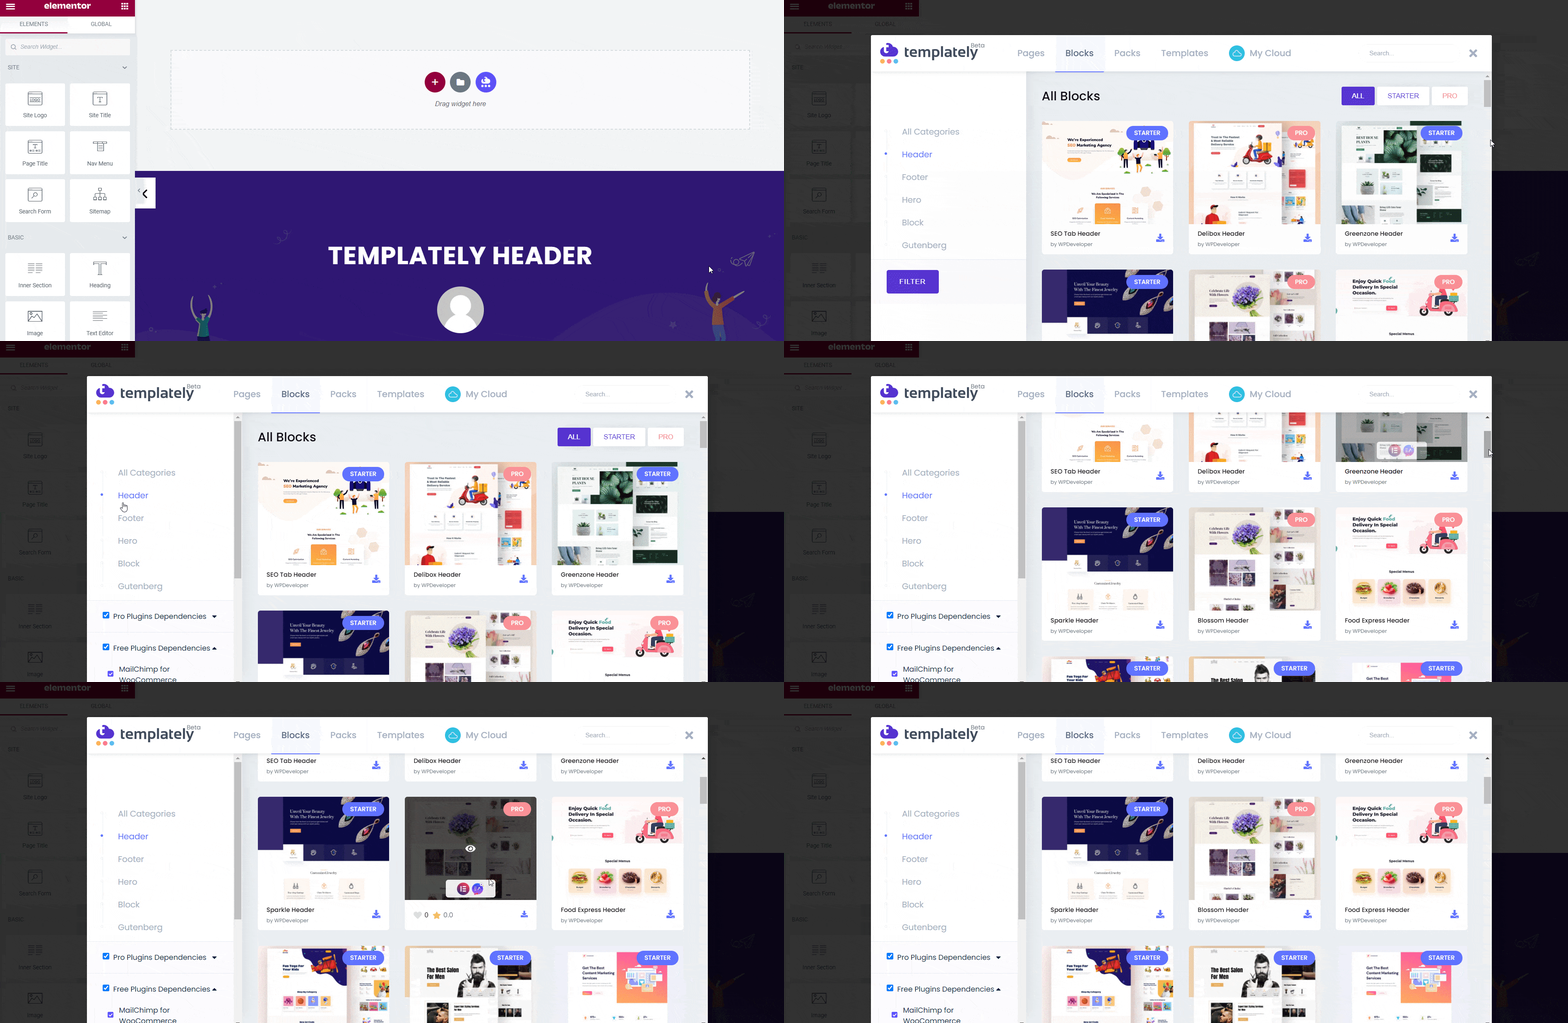
In this example we use the Blossom Header block. After you insert it, it looks like this:

Pro plugins are not installed for you
Templately installs the free plugins a block needs. If a block needs a Pro plugin, such as Essential Addons Pro, install it yourself first, or those parts will not show.
Step 3: Customize and publish your header #
Click any part of the header and change it in the Elementor panel: your text, logo and links in the Content tab, and colors and typography in the Style tab.
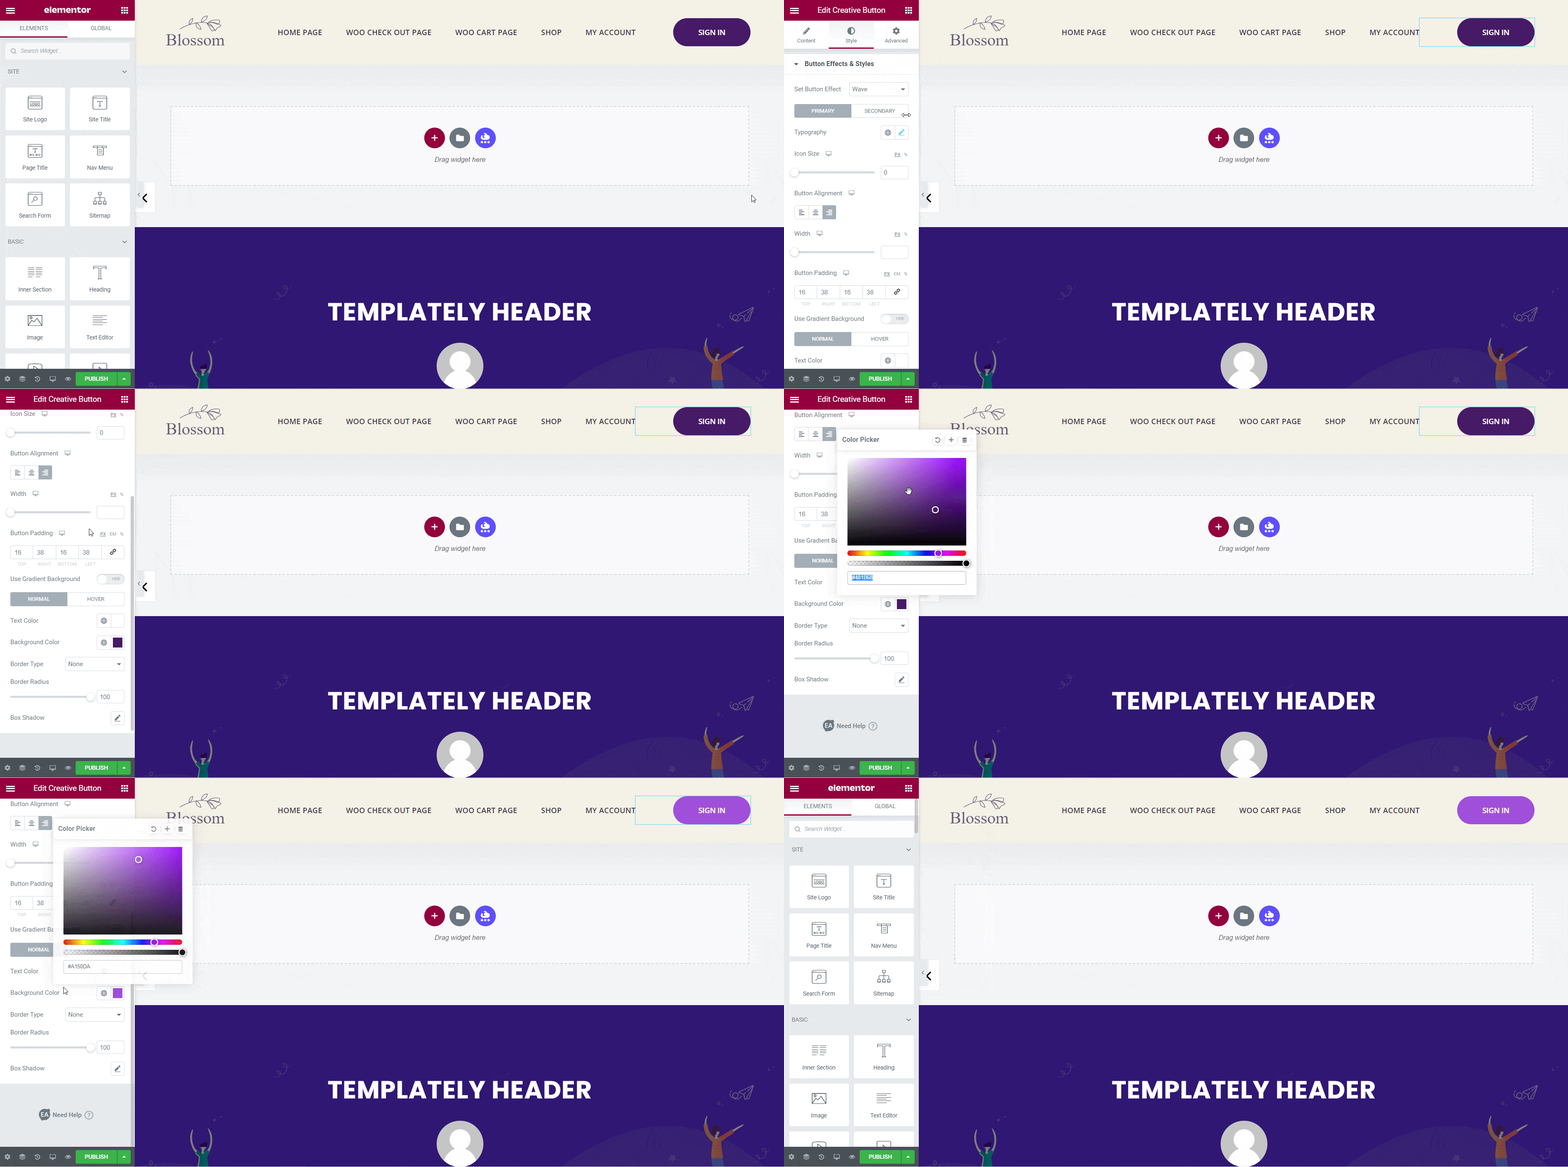
When you are done, click Publish. Elementor asks where to display the header. Add a condition, for example Include > Entire Site, then click Save & Close. The condition decides on which pages the header appears.
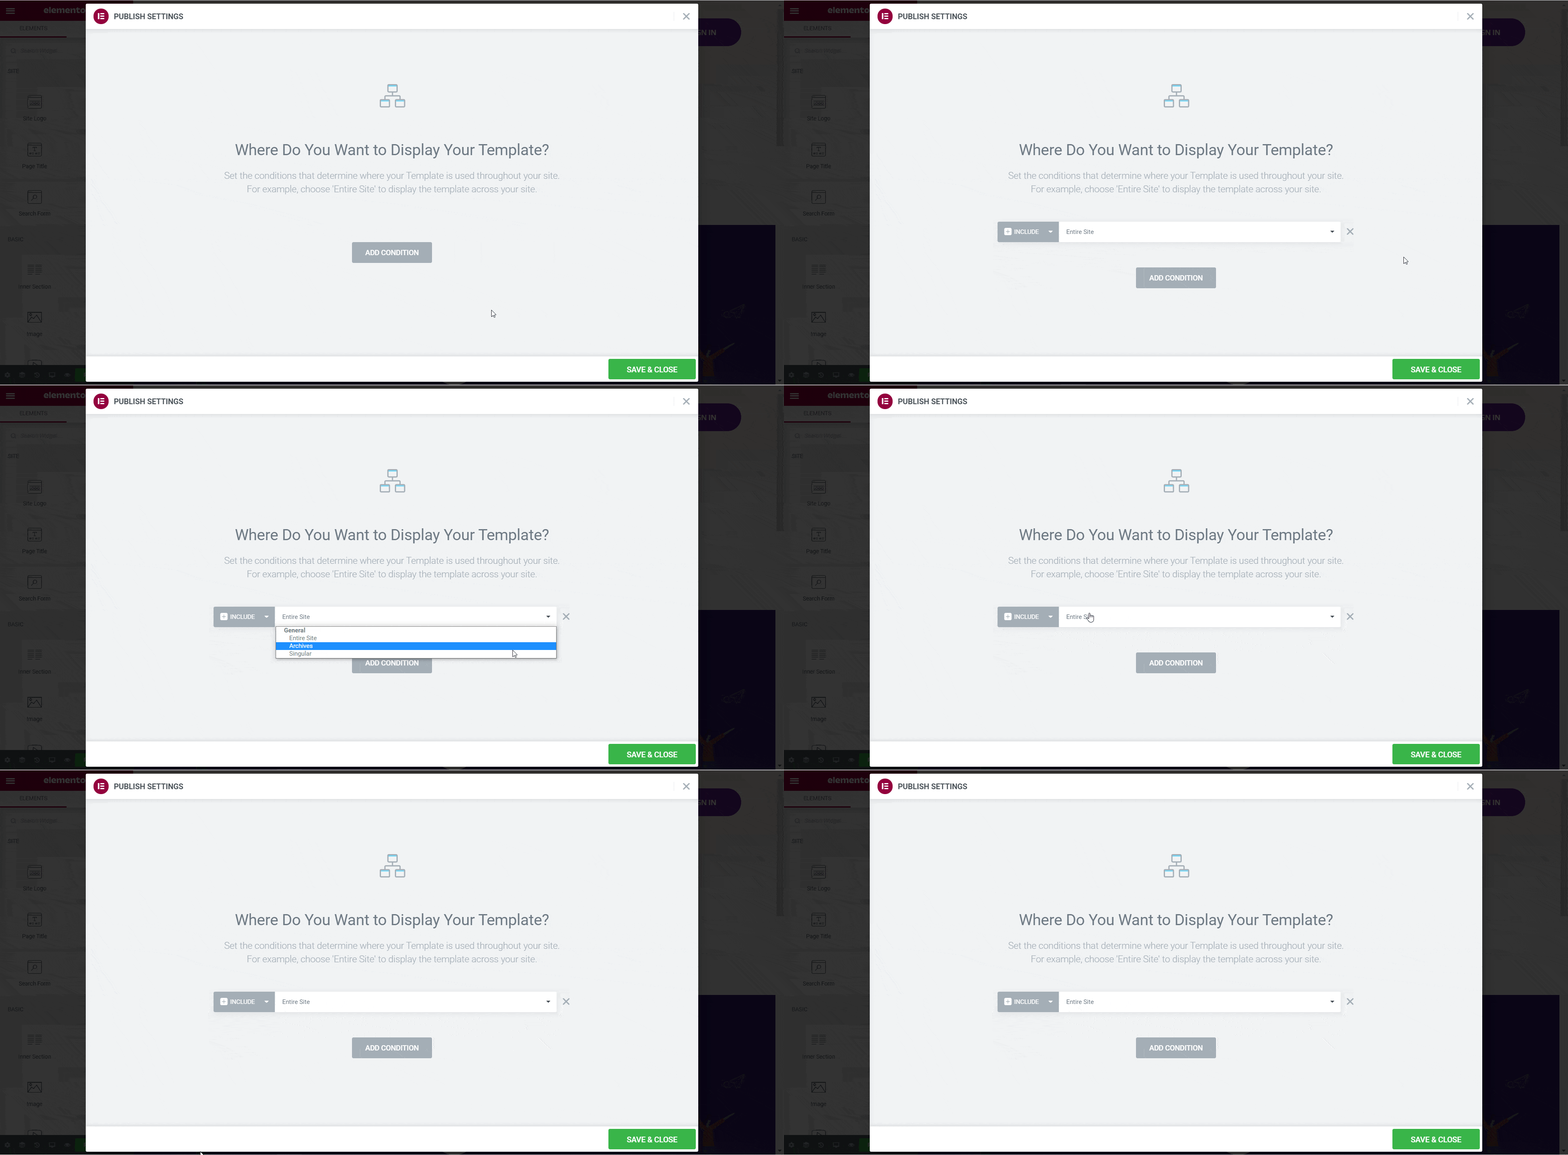
Your new header now shows on every page that matches the condition.

How to create an Elementor footer with Templately #
Step 1: Create a footer template in the Elementor Theme Builder #
Go to Elementor > Theme Builder again and add a new Footer template.

Step 2: Insert a Templately footer block #
Click the purple Templately icon, choose Blocks, find a footer design and click Insert This Block.
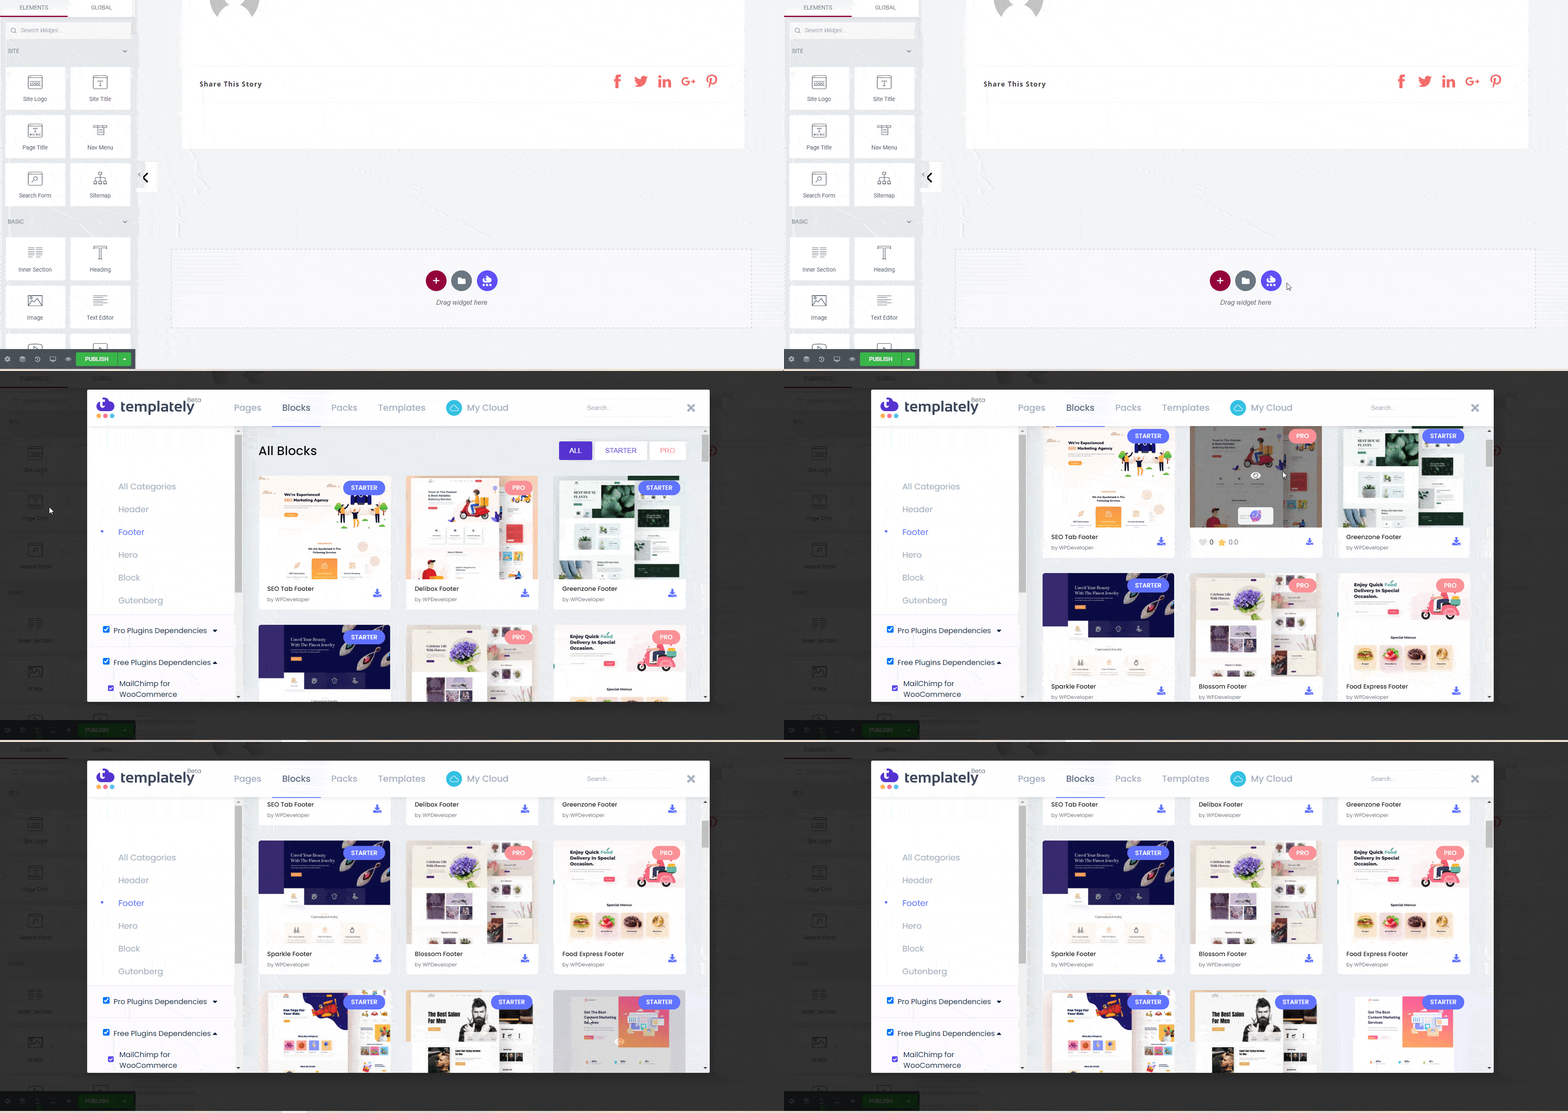
In this example we use the Blossom Footer block:

Step 3: Customize and publish your footer #
Change the footer text, links and social icons in the Content tab, and its look in the Style tab.
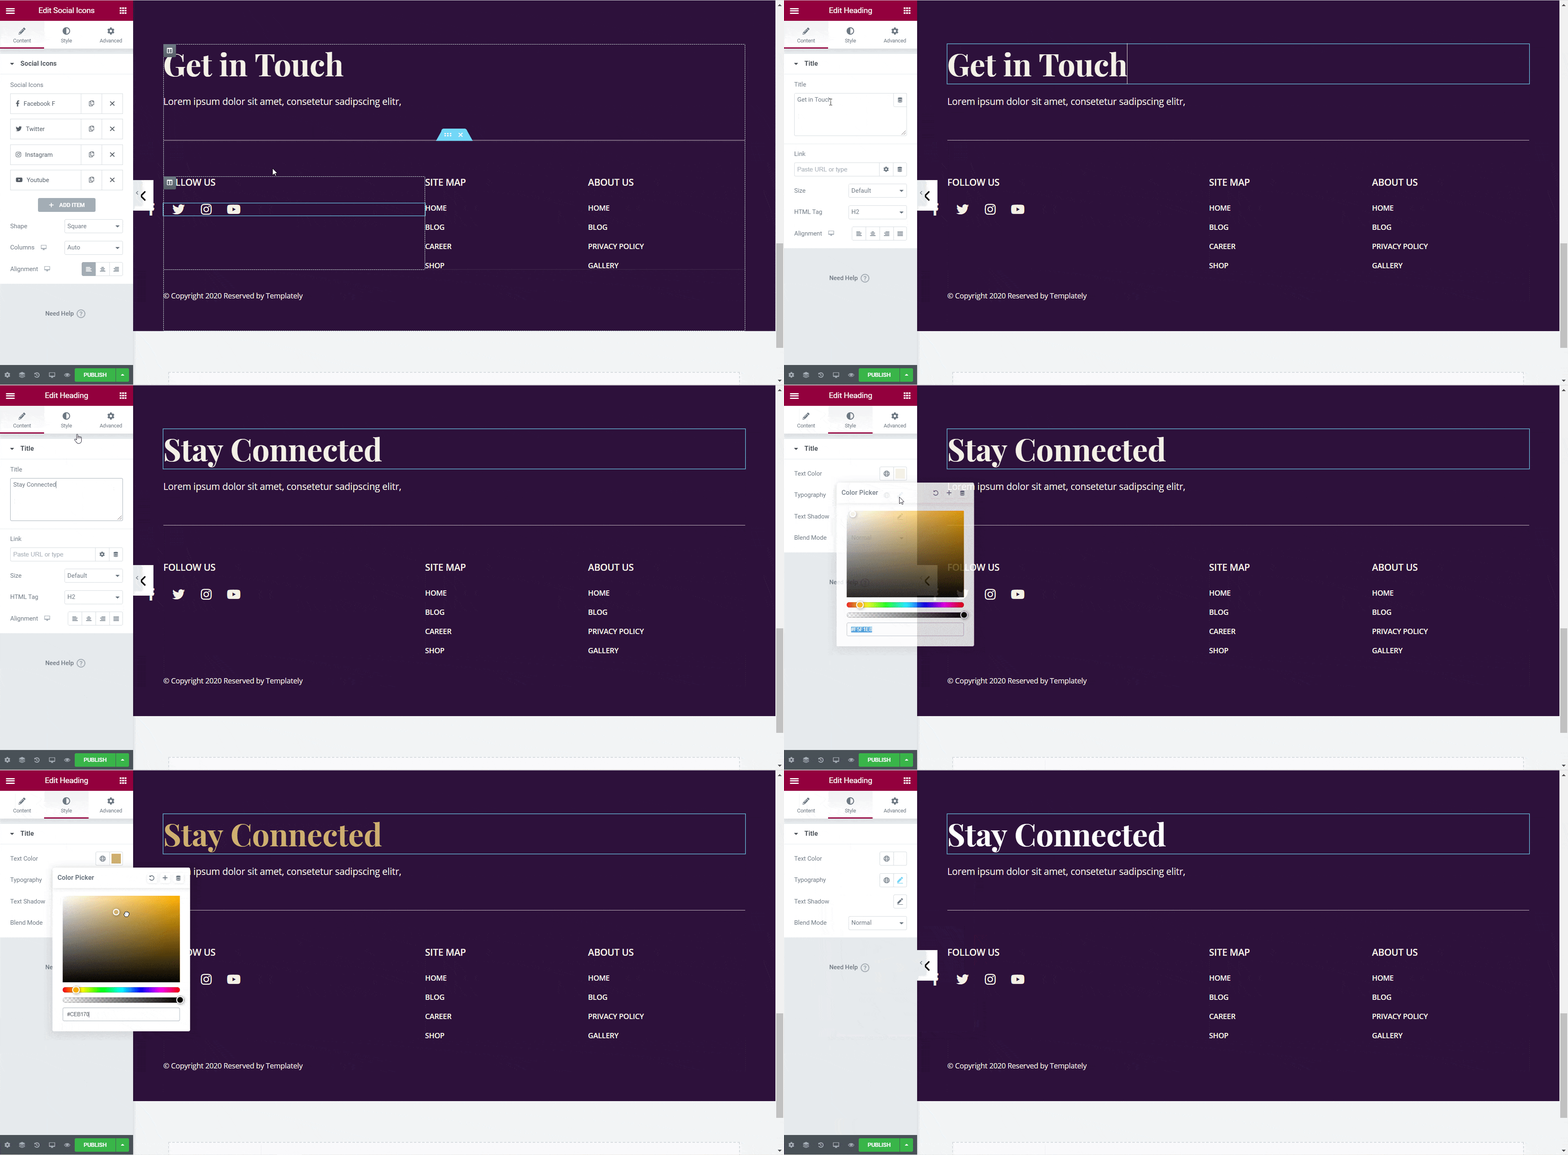
Click Publish, add a display condition such as Entire Site, and click Save & Close.
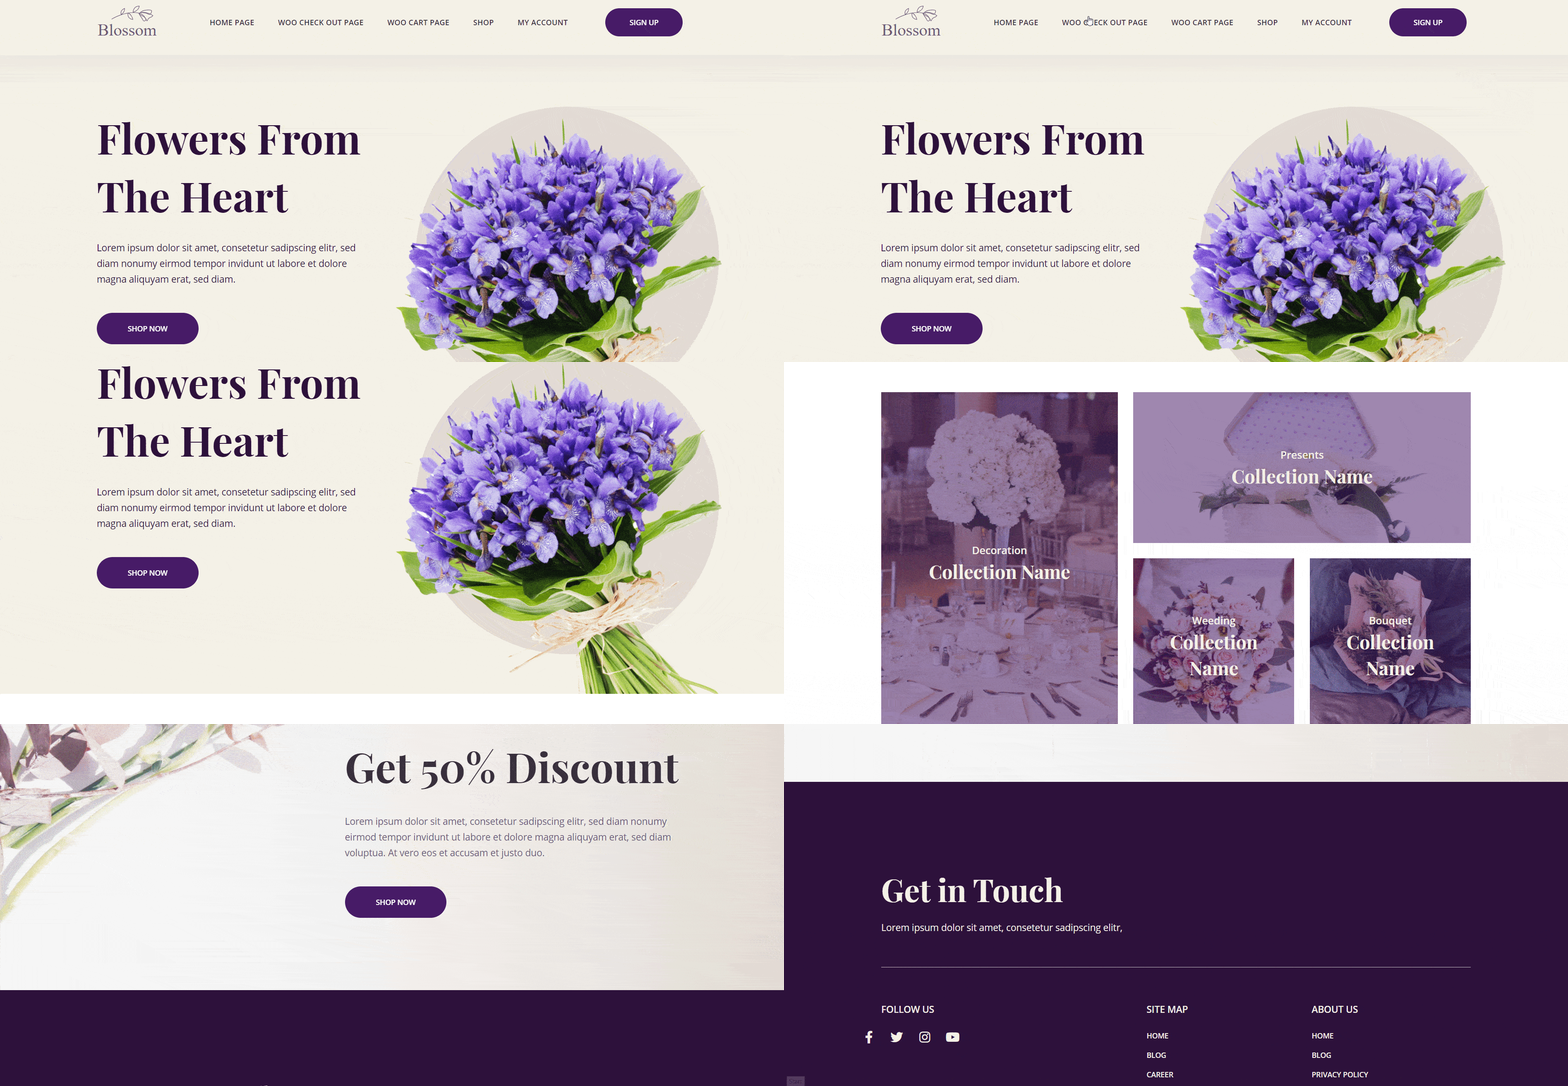
Your Elementor header and footer are now live on your site:
Related guides #
- Add a header and footer with the free Templately Theme Builder
- Insert and use blocks from Templately
- Save your design to My Cloud
Still stuck? Contact our support team and we will help you out.