Using ready Elementor templates from Templately, you can create a Woo Checkout Page and Cart Page instantly in Elementor. To do this, you need to first set any page on your website as your Checkout page and Cart page. Follow these steps below to create a WooCommerce Checkout Page and WooCommerce Cart Page in Elementor with Templately.
How To Set Up Your Woo Checkout Page And Cart Page #
At first, you need to install and activate the WooCommerce plugin and Essential Addons For Elementor. This is because the Checkout page templates in Templately are made with the Woo Checkout element from Essential Addons. This is the most popular addons for Elementor with over 1 million happy users.
After installing these two plugins, you need to set up your store and your products for your WooCommerce by following the on-screen instructions. Then, navigate to Essential Addons→ Elements and scroll down until you find the Woo Checkout element. Toggle this element to enable it and click on ‘Save Changes’.

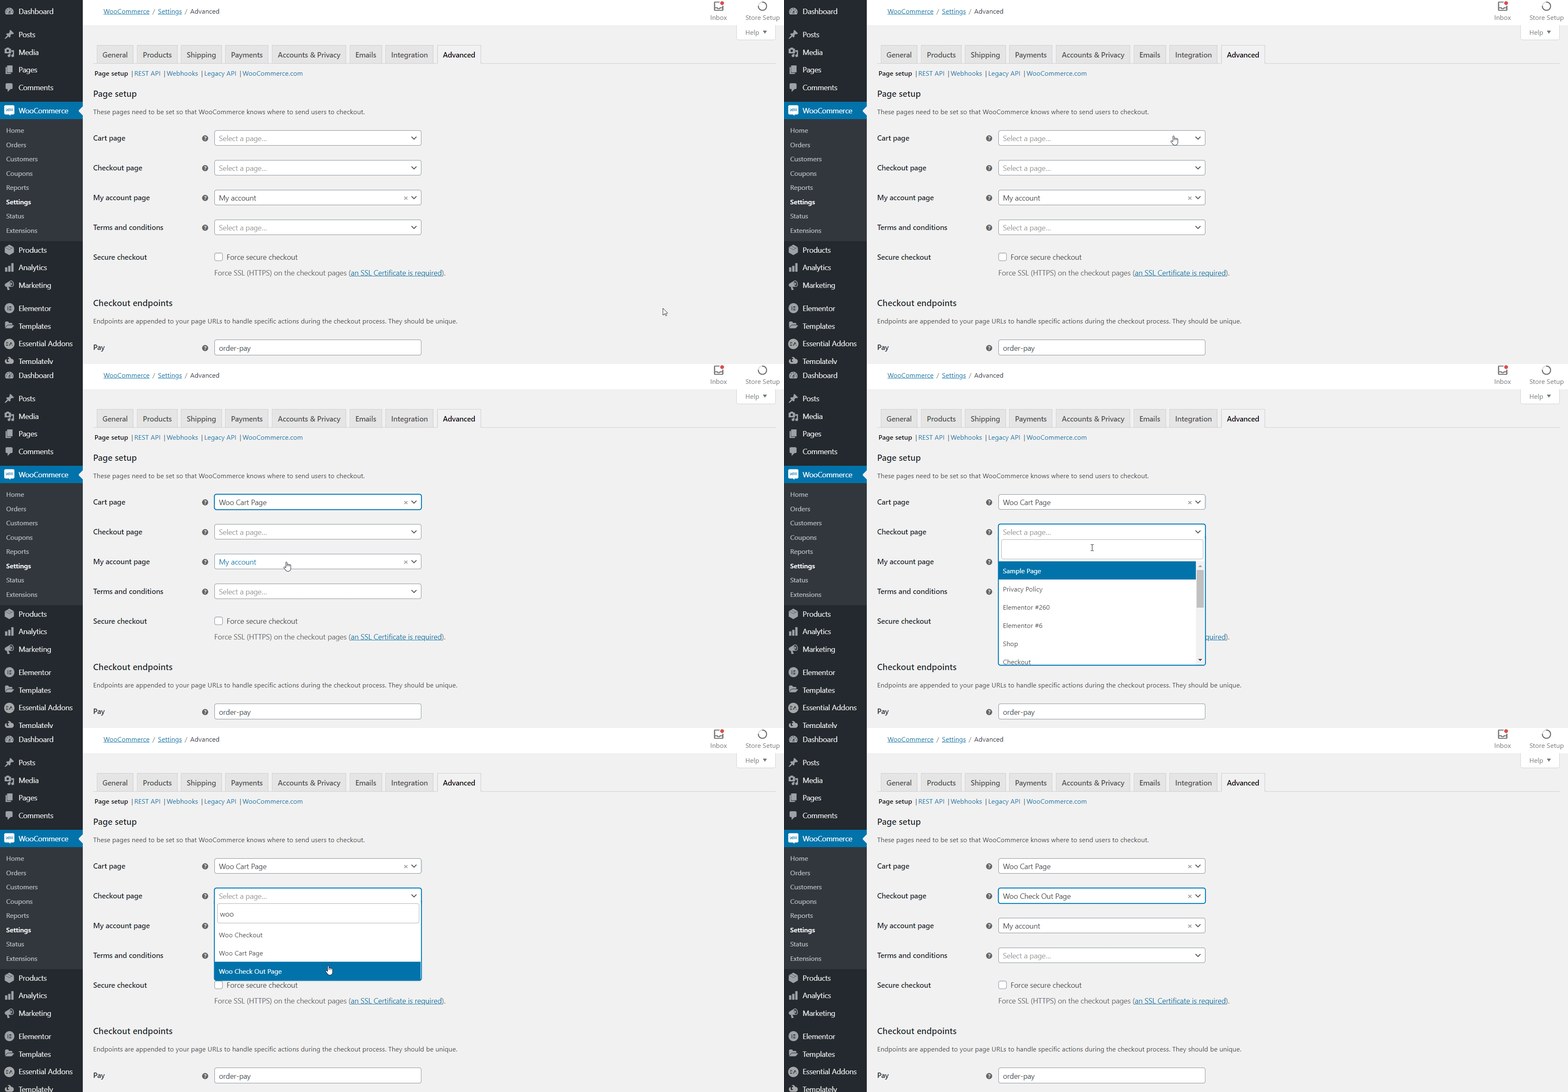
Next, create two new pages by heading over to Pages→ Add New from your WordPress dashboard. These will be your new Woo Checkout page and Cart page. Give these pages a name and then navigate to WooCommerce →Settings.
Head over to the ‘Advanced’ tab. From here, you have to assign the page you created earlier as your Woo Checkout page. Click on the Checkout page option and choose a page from the drop-down menu as your Woo Checkout page. Do the same for your Woo Cart page. Make sure to save your changes.

Your Woo Checkout page and Cart page have now been set up. Now you can insert and use any ready page template from Templately.
How To Insert And Customize Woo Checkout Page And Cart Page #
Navigate to your ‘Pages’ from your WordPress dashboard. Choose the Woo Checkout page that you have assigned in the previous step and click on ‘Edit with Elementor’. Once the Elementor Editor is done loading, you can insert ready Elementor templates from Templately and customize them by following the steps below.
Step 1: Insert Elementor Templates From Templately #
Click on the blue ‘Templately’ icon and choose any Elementor template pack for WooCommerce. Check the ready page templates and choose your ‘Checkout Page’ from that template pack. For this tutorial, we will be using the ‘Upsole Checkout Page‘. Simply click on the ‘Insert’ button to load the page template on your website.

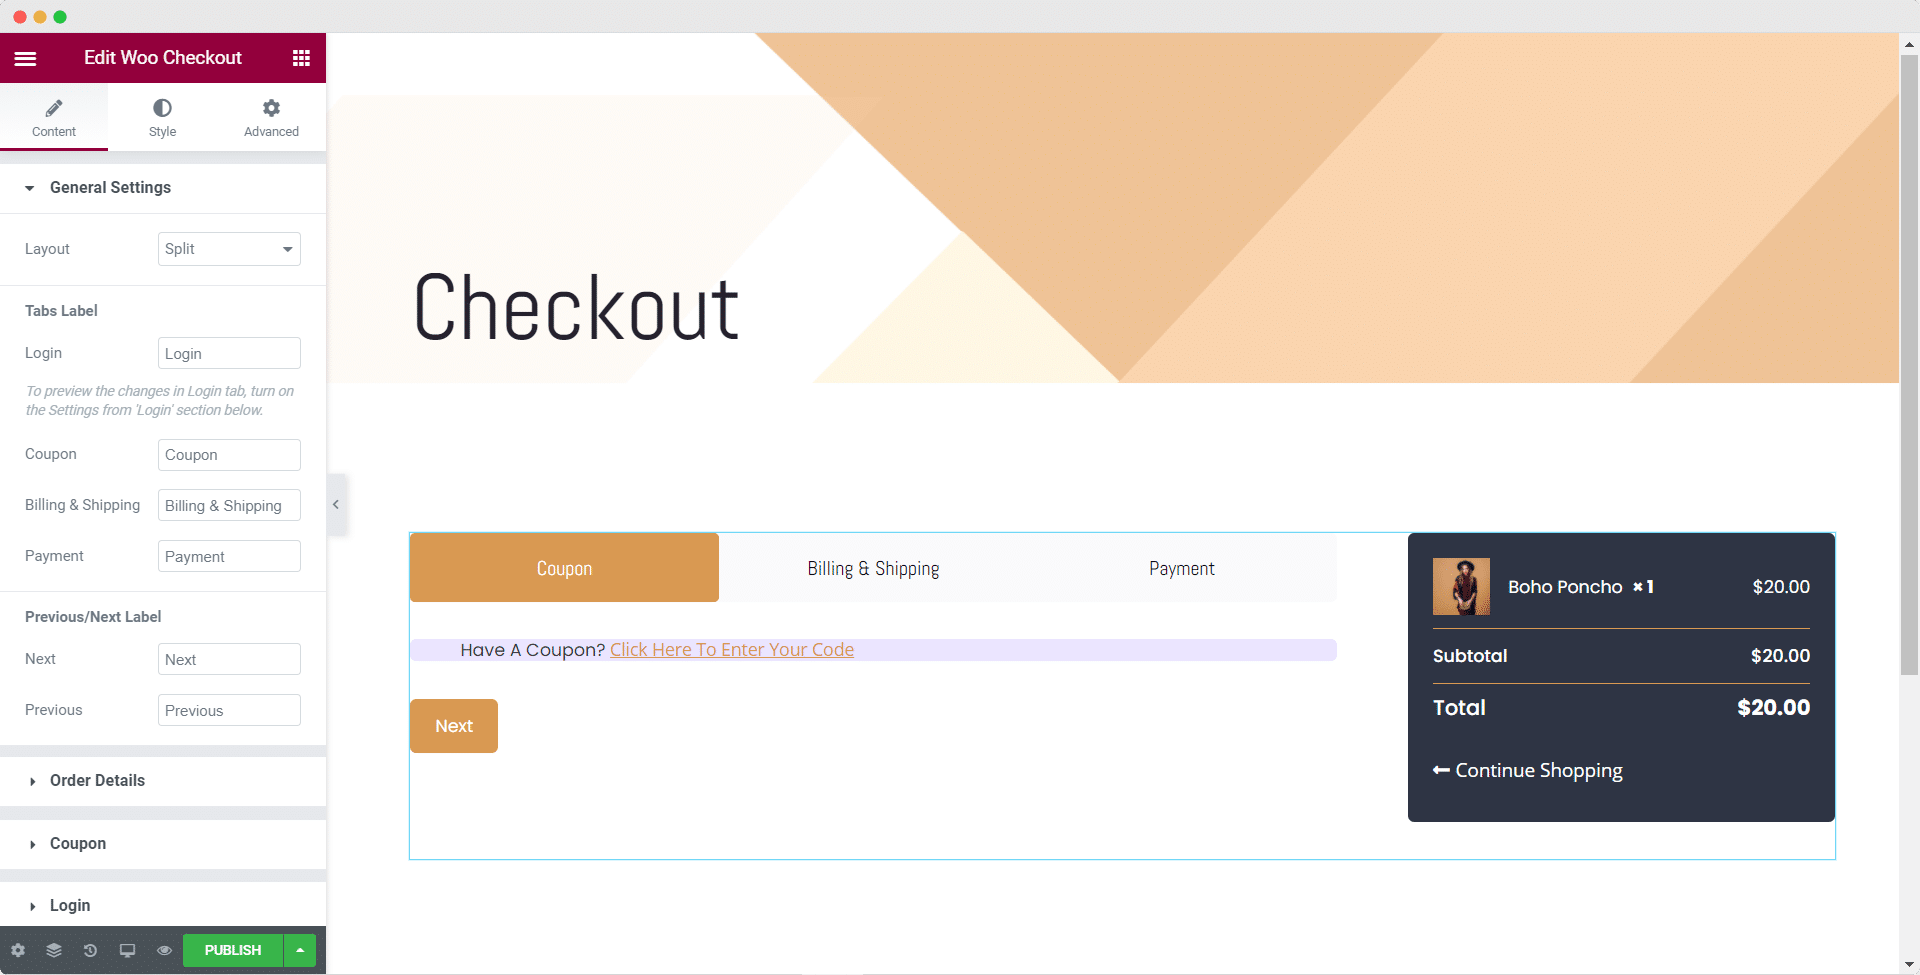
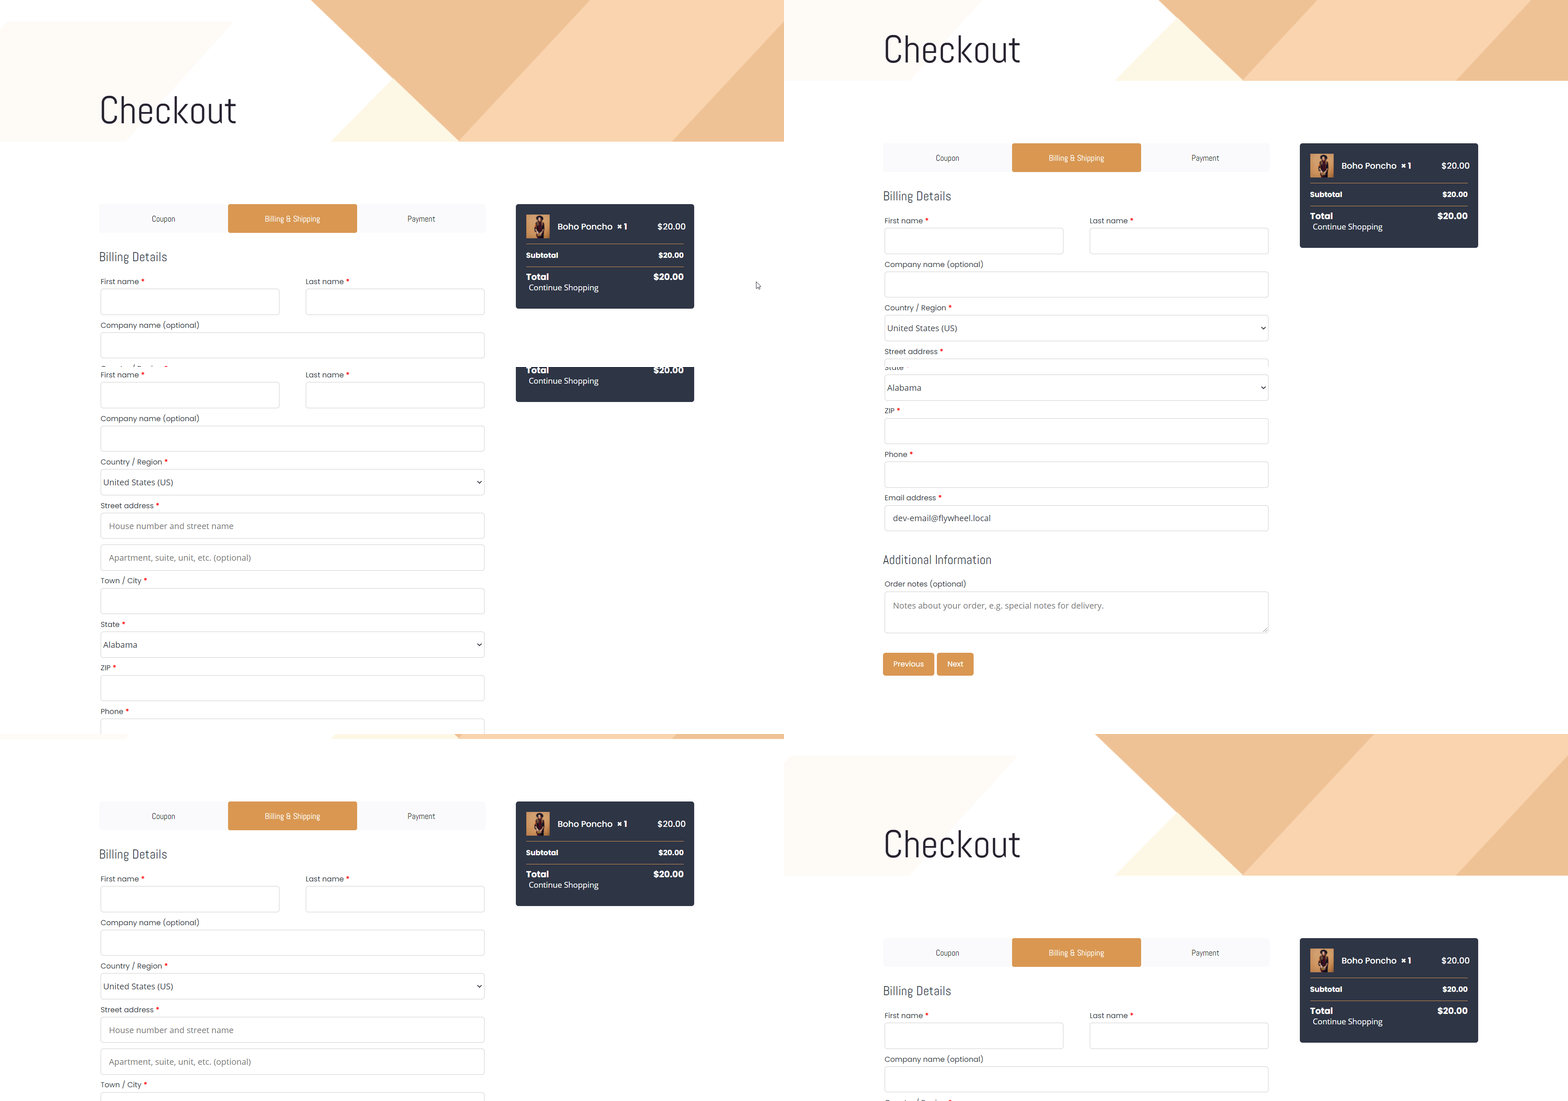
When your page template is done loading, this is how your Woo Checkout Page will appear on your website by default. Repeat these same steps for your Woo Cart page as well.

Step 2: Customize Your Woo Checkout Page #
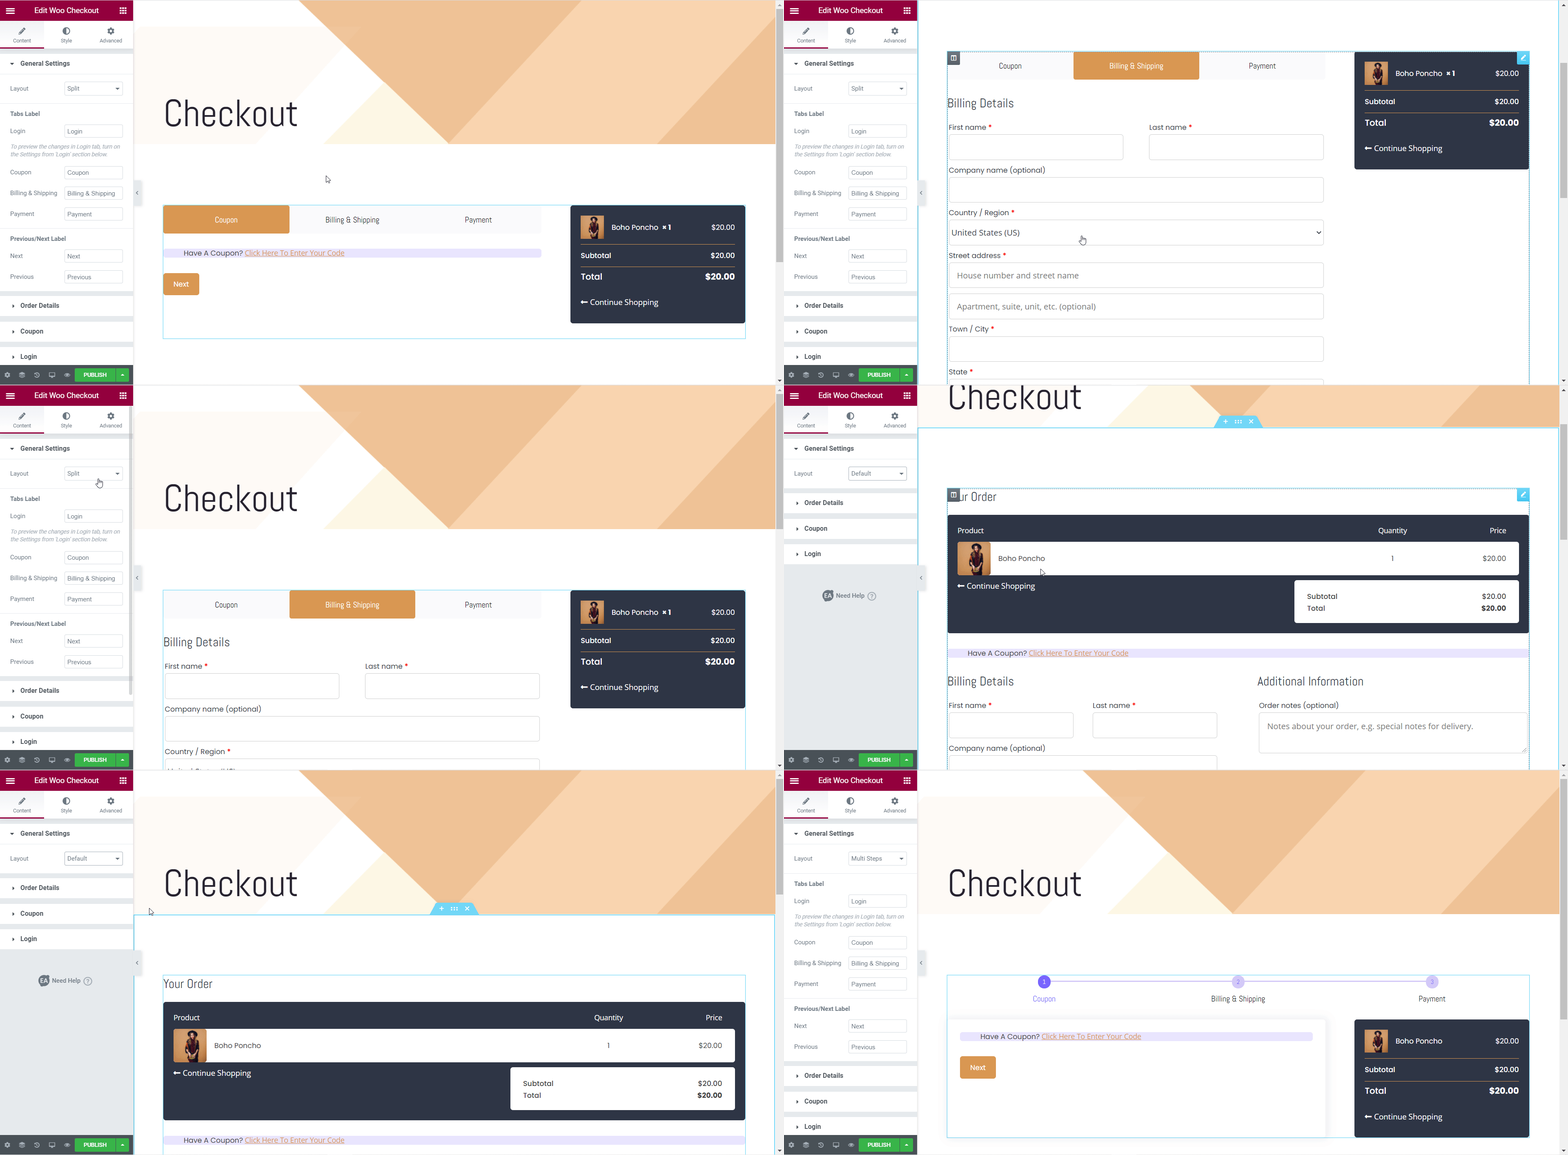
You can now customize your Woo Checkout page any way you want in Elementor Editor. From the ‘Content’ tab you can choose different layouts for your Checkout page. Currently, you can choose between the ‘Default’, ‘Multi-Step’, and ‘Split’ layout styles for your Checkout page. From the ‘Style’ tab, you can change the colors, typography, font styles, and much more. To find out more about different styling and customizing options, read this documentation.

Step 3: Publish Your Checkout Page And Cart Page #
When you are done customizing your Checkout page and Cart page, you can save the template design to MyCloud by right-clicking anywhere on your page and choosing the ‘Save Page To Templately’ option. This way you can save your page designs as a backup or share them with your team members using Templately WorkSpace. Afterward, click on ‘Publish’ to make your Checkout page and Cart page live.

By following these basic steps, you can use Templately to create your own Checkout page and Cart page in Elementor without coding.
If you face any difficulties, feel free to contact our support team for further assistance.


