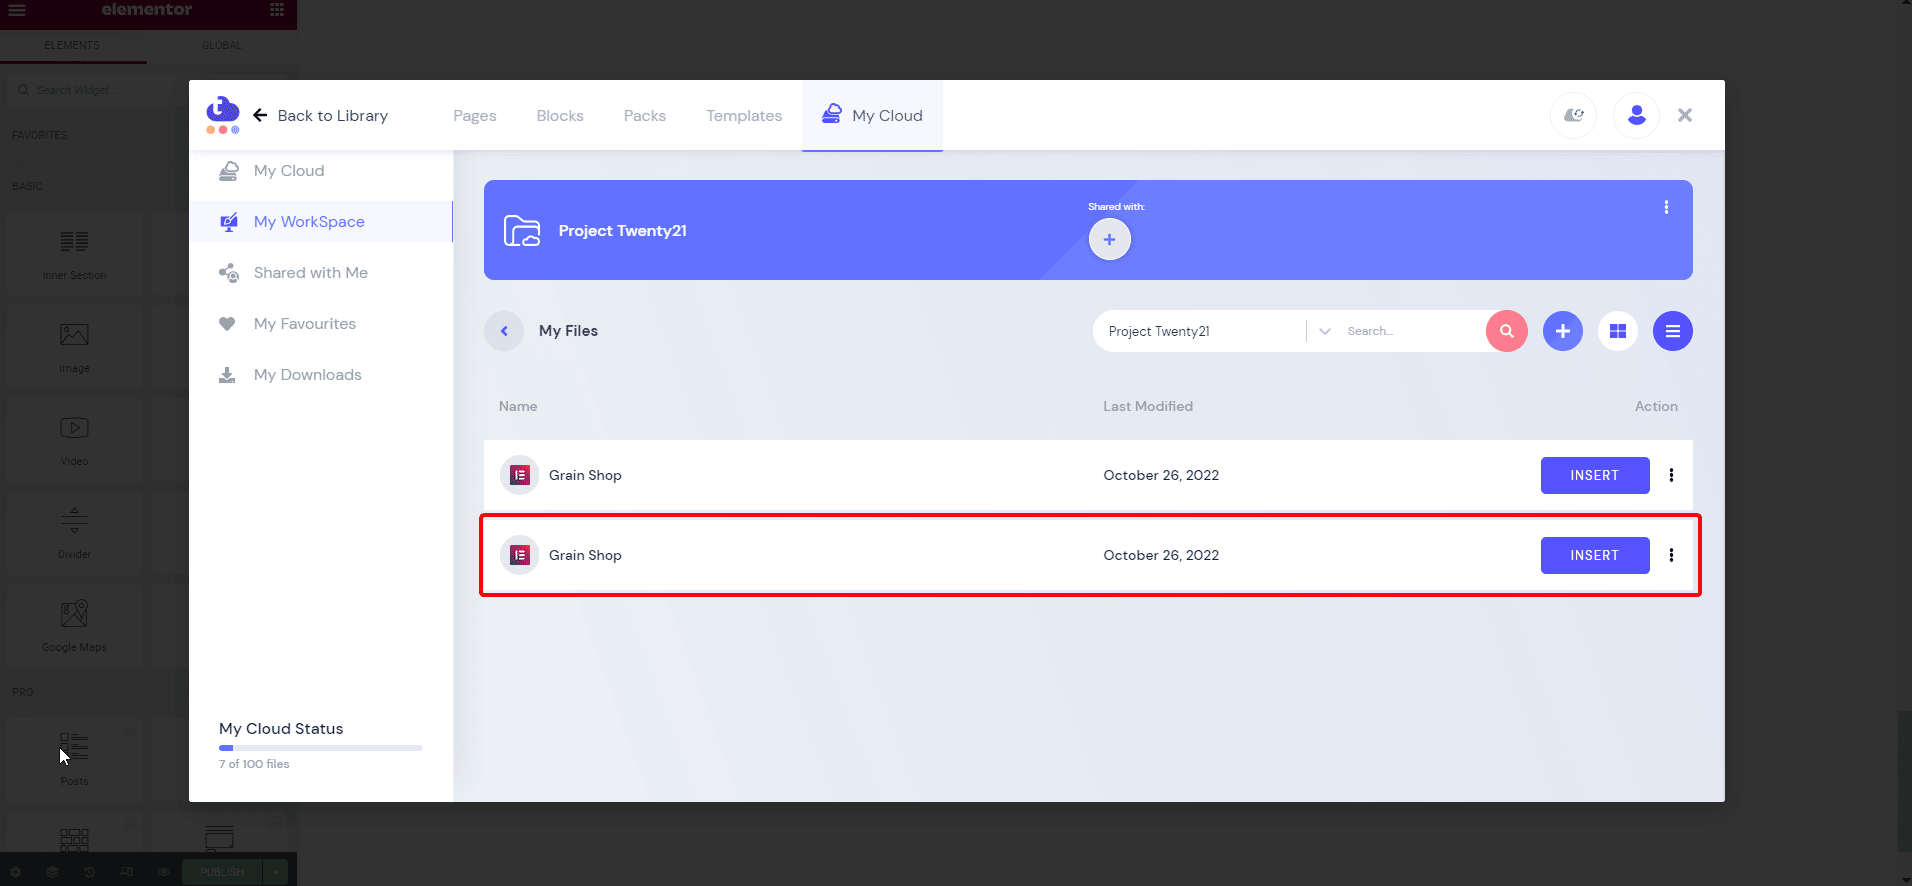
Introducing Templately WorkSpace – Cloud space to share with your team members & collaborate seamlessly to improve productivity. In this shared WorkSpace, you can save any template you like and reuse them on any WordPress website. The templates you save on your Templately WorkSpace will be accessible to all of your team members, making it easier to collaborate with your team from anywhere at any time.
To get started with Templately WorkSpace, check out our guidelines below:
How to Set Up Templately WorkSpace #
The first thing you need to do is set up your Templately WorkSpace for you and your team. You can do this in three easy steps.
Step 1: Sign In to Your Templately Account #
First, navigate to your WordPress Dashboard and click on ‘Templately’. From here, you can sign in to your account.

Step 2: Create A WorkSpace #
After you have signed into your account, it is time to create your WorkSpace. Navigate to MyCloud >> My WorkSpace and click on ‘Add New WorkSpace’.
Note: With the premium version of Templately, you can have an unlimited number of WorkSpace and also get access to unlimited Pro templates for Elementor, and MyCloud items. You can check out our flexible pricing plans here.

Step 3: Invite Members #
You should now see a pop-up window like the one shown below. Give a name for your WorkSpace and add your team members’ email addresses to invite them to join. Click on ‘Create WorkSpace’ to create a new WorkSpace for your team.

After successfully completing this step, you should be able to see your new shared Templately WorkSpace. For this example, our Templately WorkSpace is named ‘Template Designs’.

How To Share Saved Templates On WorkSpace #
Now that you have successfully created your Templately WorkSpace, you and your team members can easily collaborate on your work by uploading your designs or saving your favorite templates to MyCloud, and then sharing them on your WorkSpace. All templates shared on a WorkSpace will be accessible to all team members.
Step 1: Save Your Template To MyCloud #
First, you have to save your template to MyCloud. All you have to do is right-click on the page you have designed and choose ‘Save Page to Templately’. For more details, check out our guide on saving templates/designs to MyCloud.

You should be able to see this template when you head over to MyCloud now.

Step 2: Add Saved Template To WorkSpace #
You can now add your saved Template to your Templately WorkSpace and share it with your team members. There are two ways you can do this. The first method is to add the saved template from within your WorkSpace.
Click on ‘My WorkSpace’ and enter the Templately WorkSpace you’ve created. Here, click on the ‘+’ icon to add your saved template to your WorkSpace.

You should see a pop-up menu like the one shown below. Choose the template you want to share with your WorkSpace from the drop-down menu.

Alternatively, you can also add any saved template to your WorkSpace directly from MyCloud. Simply click on the three dots on the saved template in MyCloud. Click on either ‘Copy to WorkSpace’ or ‘Move to WorkSpace’ from the list of options.

Whichever method you choose, your end result should always show your saved template in your shared Templately WorkSpace.

This is how you can quickly and easily set up a Templately WorkSpace where you can collaborate with your team members, share your designs with each other, and reuse them on any site from anywhere.
If you face any issues, feel free to contact our support team for further assistance.


